Optimizing image file size and format is crucial for ensuring fast loading times and optimal user experience on websites.
By following these image recommendations, you can enhance your website’s performance and improve search engine optimization (SEO) for your website pages.
1. Use lower case and avoid spaces: When naming your image files, it is best to use all lower-case letters and eliminate spaces. Instead of spaces, use hyphens (-) to separate words. For example, “ron-the-web-guy.jpg” is preferred over “Ron The Web Guy.jpg”.
2. Be descriptive: Choose image file names that accurately describe the content of the image. This not only helps with organization but also helps with SEO and searching for images within platforms like WordPress (WP), HubSpot (HS), and Google Drive. If the image is related to a specific event, product, or person, incorporate their name into the file name. For instance, “product-name-thumbnail.jpg” or “john-doe-profile-pic.jpg”.
3. Avoid stock photo wording: Refrain from including generic terms like “iStock” or “stock photo” in your image file names. These terms do not provide any meaningful information about the image and can be redundant.
4. Optimize Image Size: Image size pertains to the pixel dimensions (width x height) or the file size (in kilobytes or megabytes). Large image files can significantly slow down page loading times. Therefore, it is crucial to optimize images for web use before uploading them to your website. Avoid relying on image compression plugins post-upload. Utilize image editing software or online tools to resize and compress images while maintaining acceptable quality. Strive for a balance between file size and image quality.
Consider image file size (in kilobytes or megabytes) as analogous to water in a 5-gallon bucket—attempting to fit 20 gallons into a 5-gallon bucket is impractical and indicates excessive content for the available space. Similarly, think of image dimensions (width and height) like parking a full-size truck in a small parking space; while it may fit, it will not look proper and will clearly exceed the space’s boundaries.
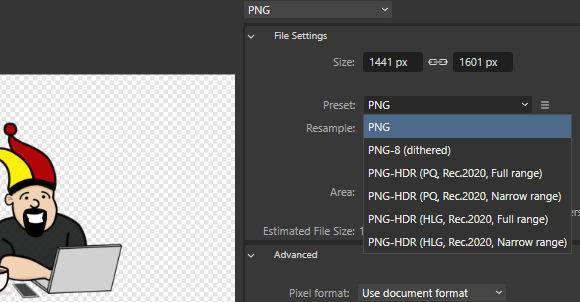
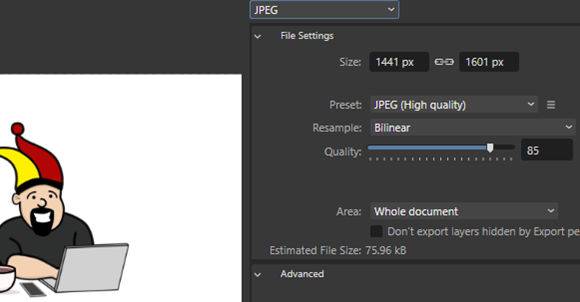
5. Choose appropriate image formats: Different image formats serve different purposes. For photographs or complex images with many colors, use JPG/JPEG (Joint Photographic Experts Group) format. It offers a good balance between image quality and file size. For images with transparency or simple graphics, such as logos or icons, use PNG (Portable Network Graphics) format. PNG supports transparency but may result in larger file sizes. Avoid using uncompressed formats like BMP (Bitmap) or TIFF (Tagged Image File Format) for web images, as they can be excessively large.
- JPG is ideal for faster-loading product pages: With smaller file sizes and efficient compression, JPG images help improve website speed and performance—especially important for mobile users and SEO rankings.
- PNG offers higher image quality for detailed visuals: While larger in size, PNG files preserve sharp edges and subtle color variations, making them better suited for showcasing intricate product textures or branding elements.


Caching will help with some of this, BUT caching assets is a band-aid for not properly optimizing assets prior to uploading to the website.
- It takes a few seconds to pre-optimize images for the web before you upload them
- It can take up to a several minutes to post-optimize images for the web after they’ve been uploaded – not to mention the online/server resources needed for such
Don’t just take my word for it:
By adhering to these image recommendations, you can optimize your image file size and format, leading to faster website loading times, improved (SEO) search engine optimization, and a better overall (UX) user experience.
Go here for more information about image specs for social media posting.
Yes, even I have had to use image optimizing plugins over the years. One of my favorites is Short Pixel

